How to Connect to Stevens-Net on Windows Devices
Step-by-step instructions on how to connect to Stevens-Net, the Wi-Fi network on campus for Windows computers.
Before you start
- For best Wi-Fi connectivity, we recommend that you install the latest version of Windows Operating System.
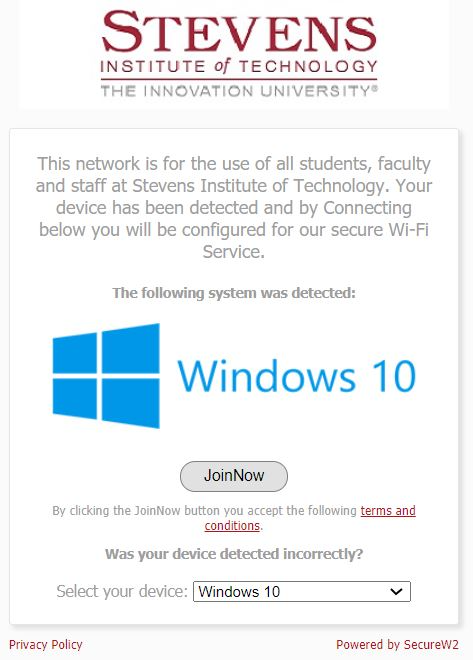
Step 1: Select Stevens-Connect from the available Wi-Fi networks on your device, a portal will pop-up automatically. If it does not visit stevens.edu/connect.
If you are located off-campus and want to set up your Wi-Fi connection to Stevens-Net in advance, visit stevens.edu/connect to download the SecureW2 application (Step 3). Select Allow if you receive a download warning.
Step 2: Ensure that the 'Select your device' drop down shows the correct Operating System (i.e. Windows 10), then select Join Now.
Step 3: When prompted download the SecureW2 application and select Save and then open the file that was downloaded.

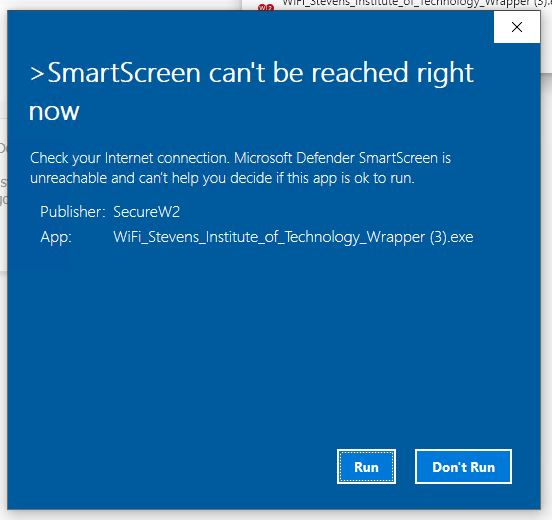
Step 4: Select Run when receiving the warning prompt about SmartScreen.
Step 5: Select yes on the (UAC-User Account Control) prompt for authentication.
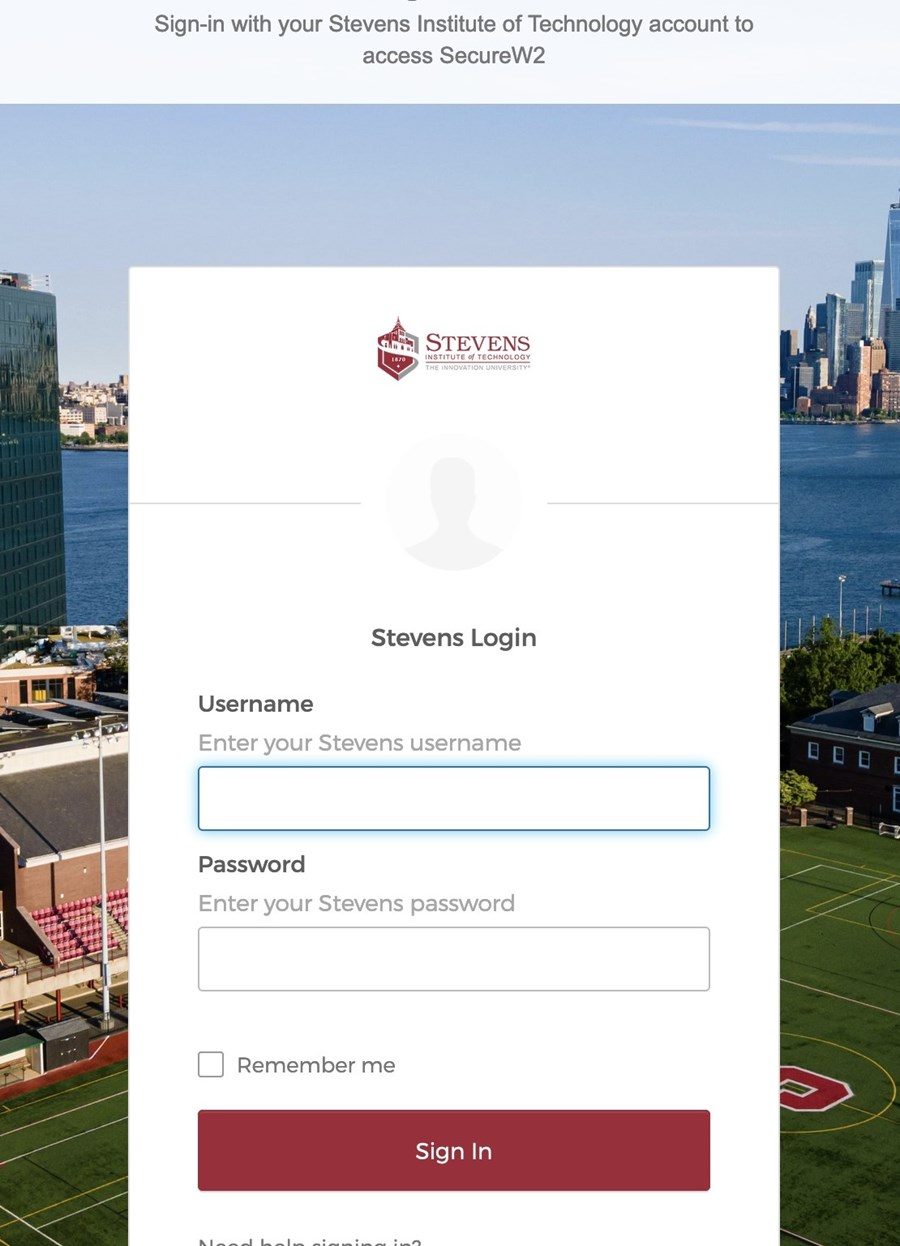
Step 6: Enter your Stevens username and password to authenticate with Single Sign-On and select Sign In.
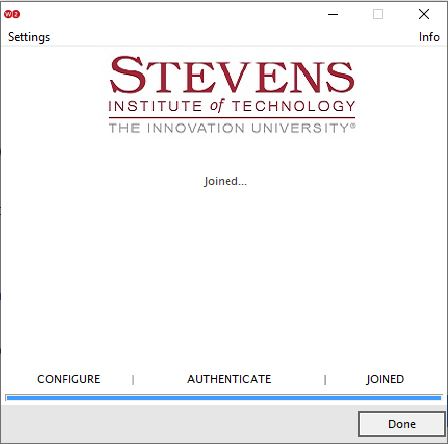
Step 7: In the SecureW2 application it will say 'Joined' once the Wireless Configuration is complete, select Done.
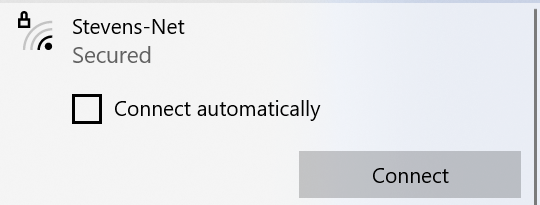
Step 8: If you are on-campus you should be connected to Stevens-Net. Under your available wireless networks select Connect automatically for Stevens-Net.
Experiencing an issue or need additional support? Contact our OneIT Team by