How to Set up an Authorized Party in Nelnet through Workday
Students may set up an Authorized Party to allow their parents, spouse, guardians, or other third parties to view their student account activity, make payments, and set up payment plans on their behalf.
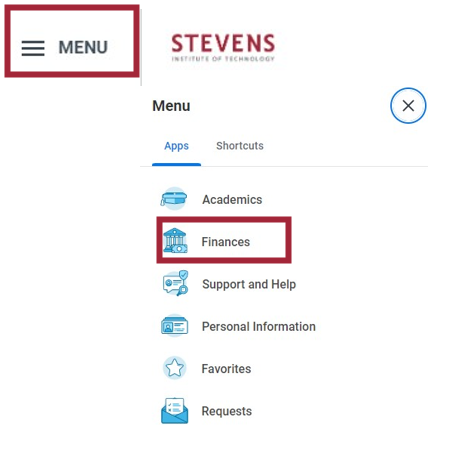
Step 1: From your Workday homepage, select the Menu icon in the upper left corner, then select Finances under the Apps tab.
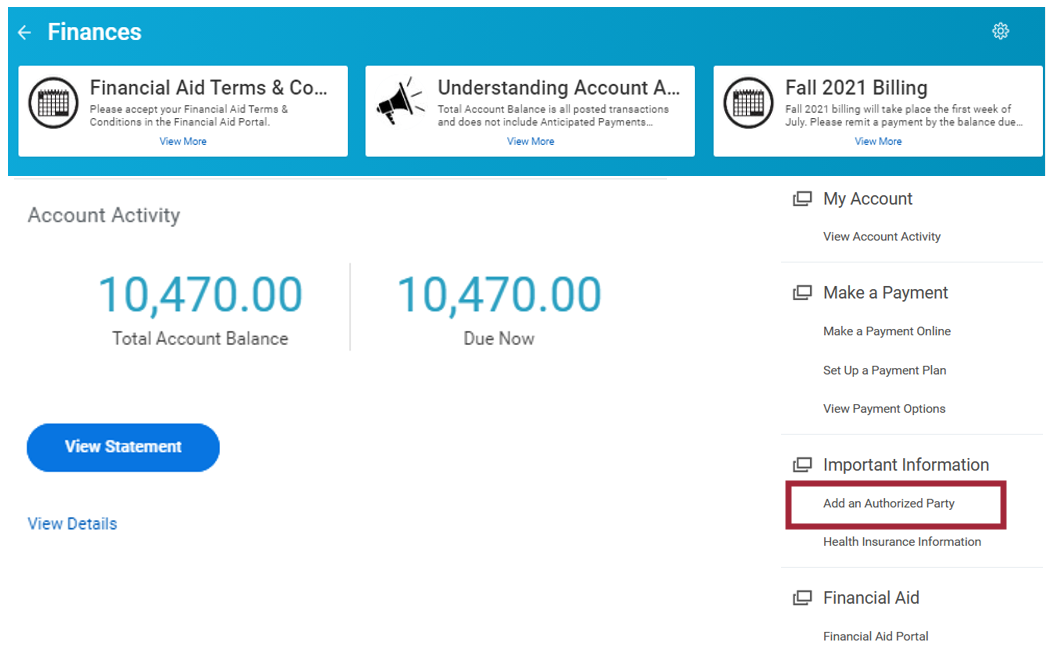
Step 2: Select Add an Authorized Party under the Important Information section.
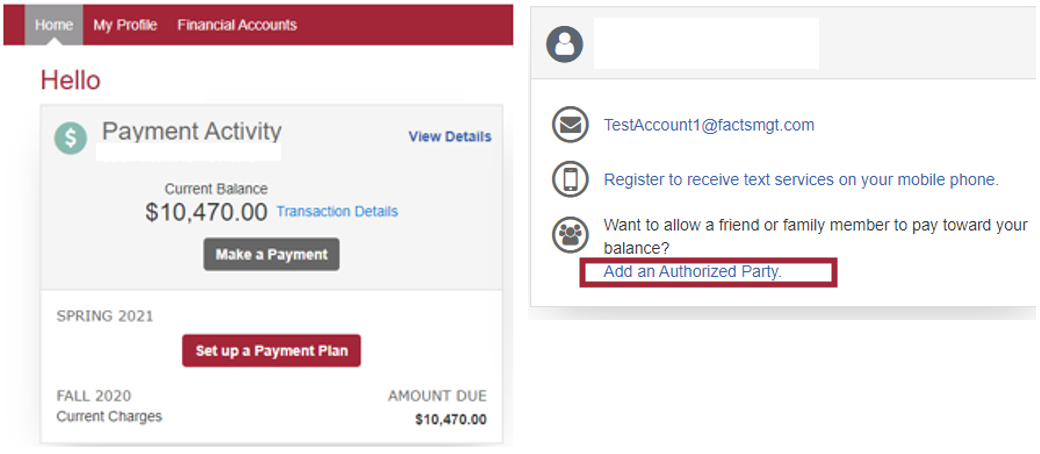
Note: If you are accessing Nelnet for the first time, you will have to set up your user profile.
Step 3: Select Add an Authorized Party.
Step 4: Complete all fields, then select Save and Send.
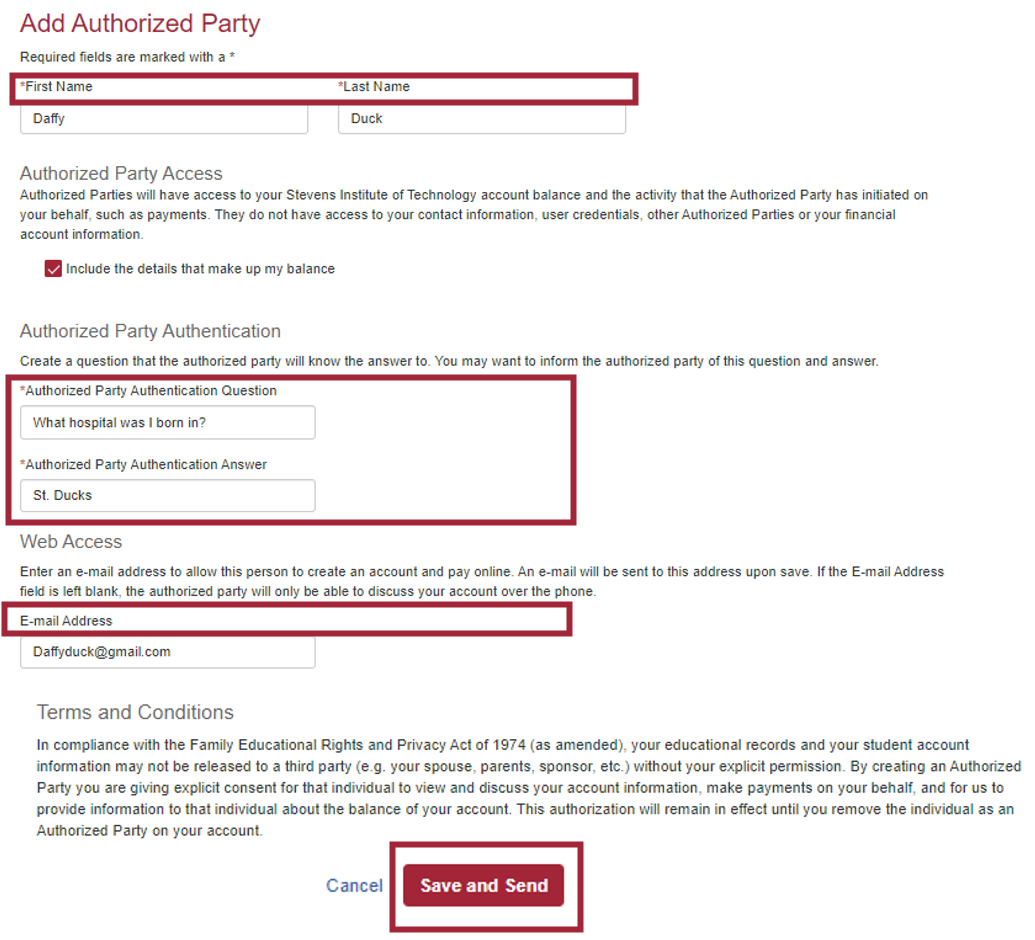
Step 5: Your authorized party will now be reflected on your profile under Manage Payers. The Authorized Party will receive an e-mail invitation prompting them to create an account.

Experiencing an issue or need additional support? Contact our OneIT Team by