How to Create and Apply Inbox Filters in Workday
This guide will walk users through the process of creating filters in My Tasks in Workday. These customizable filters allow you to quickly sort through all the items in the My Tasks screen.

Create My Inbox Filters in My Tasks
Step 1: Select the My Tasks icon from the top navigation bar of the Workday homepage.

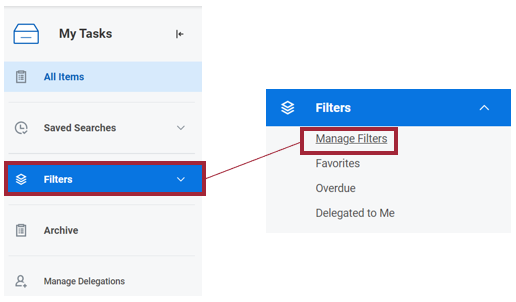
Step 2: Open the Filters menu on the left side of the screen. Select Manage Filters.
The graphic you would see in Workday appears immediately below this step.
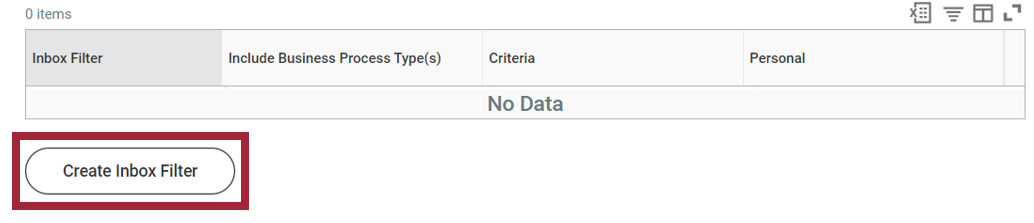
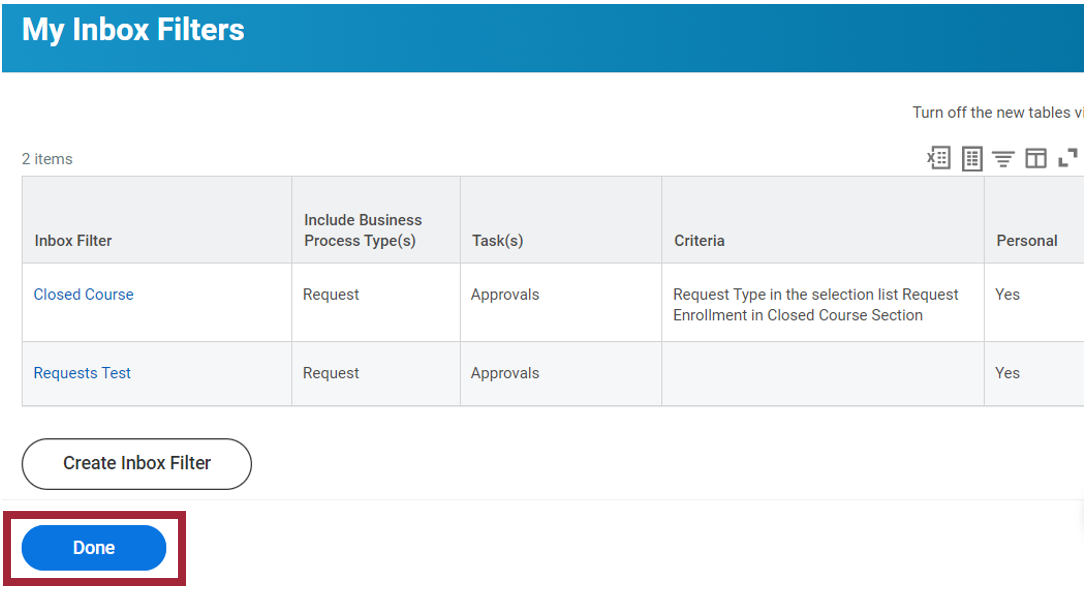
Step 3: Select the Create Inbox Filter button.
The graphic you would see in Workday appears immediately below this step.
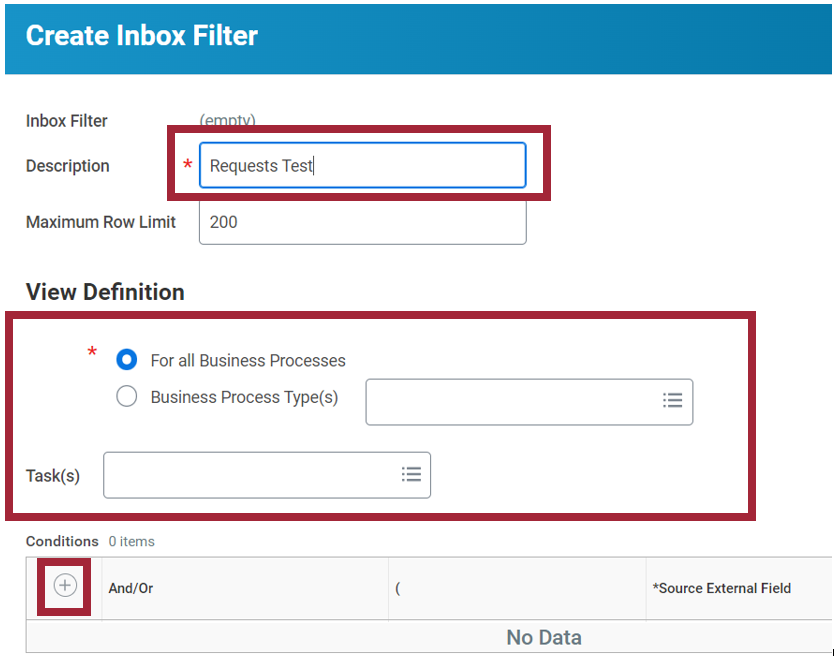
Step 4: Enter a title for the inbox filter in the Description field. Select whether you want to return all business processes or only a specific kind in the View Definition section.
Note: Tasks include actions in the system such as Approvals and To Do’s. You can select the prompt icon and select task(s) to search by select task type. Select + icon to add Conditions to the inbox filter.
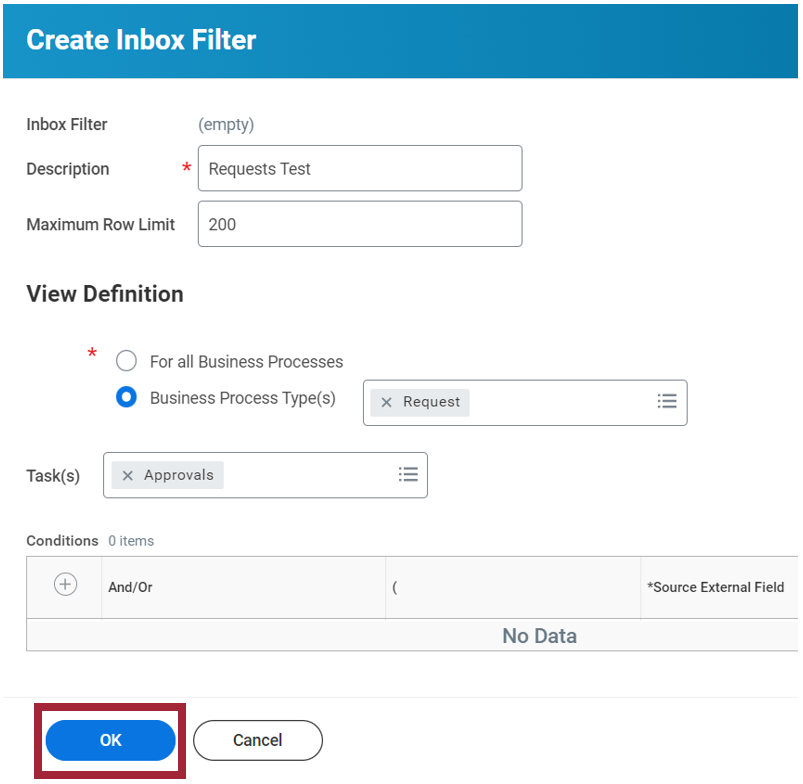
Step 5: Select OK.
Step 6: Select Done.
Apply Inbox Filters
Step 1: Select the My Tasks icon from the top navigation bar of the Workday homepage.
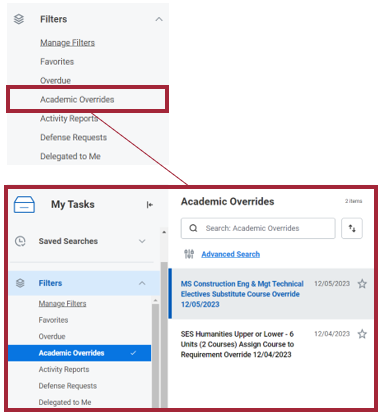
Step 2: Open the Filters menu on the left side of the screen and select the desired filter. All created filters will be listed under this menu. The filter will then be applied to the displayed information in the My Tasks screen.
Experiencing an issue or need additional support? Contact our OneIT Team by