Verify Participation for My Course Section in Workday
This article shows a user how to verify participation for a course they are teaching in Workday.
Note: The Verify Participation for My Course Section function will be accessible after the Add/Drop period passes.
Quick Search: Verify Participation for My Course Section
Step 1: Open the Global Navigation menu (the  icon) on the left side of the Workday Today homepage.
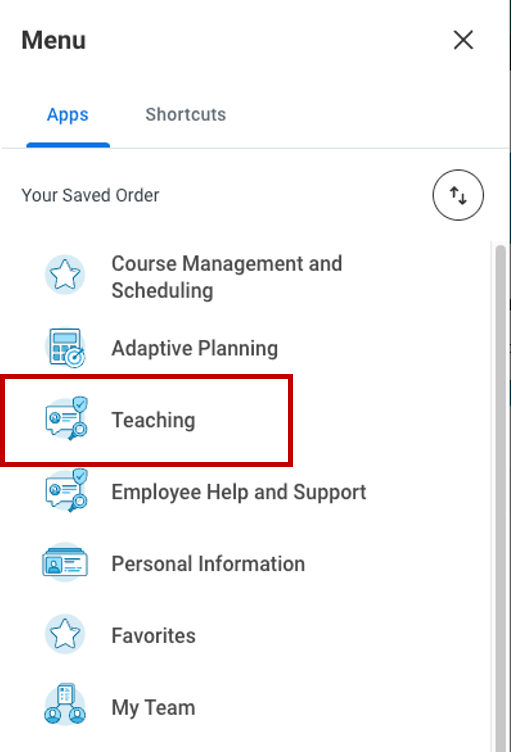
Step 2: Select Teaching from the Apps section of the Menu display.
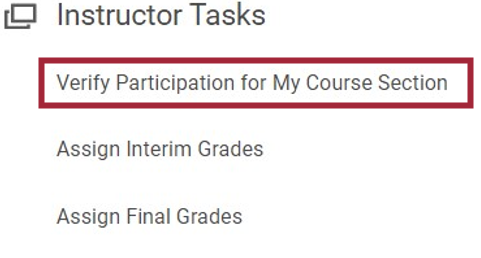
Step 3: Under the Instructor Tasks section, select Verify Participation for My Course Section.
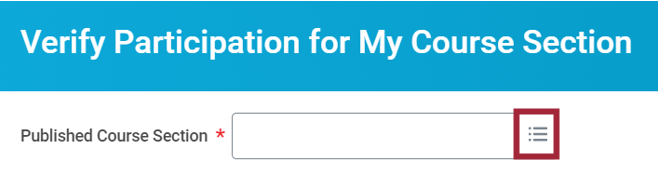
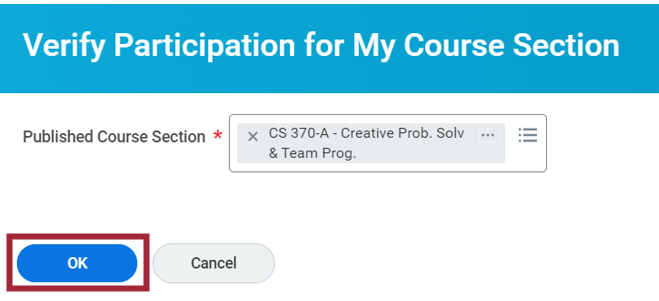
Step 4: Select the Published Course Section from the drop-down menu.
Step 5: Select OK.
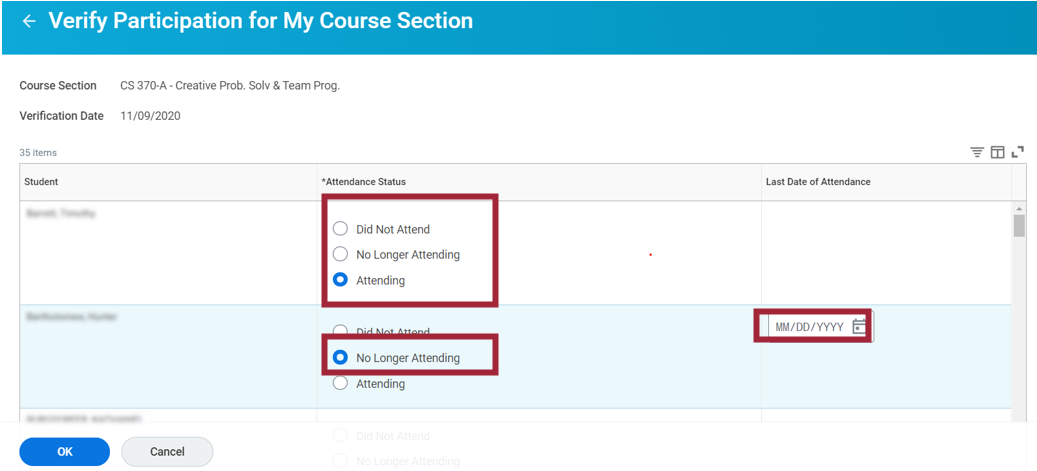
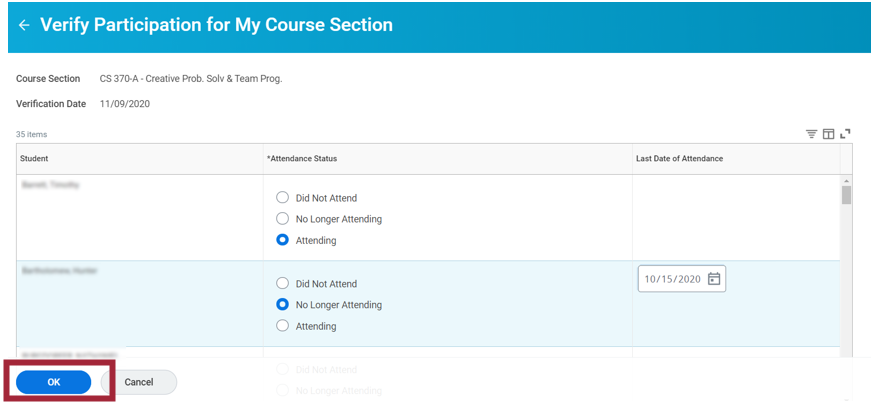
Step 6: Select Attendance Status per student.
Note: If No Longer Attending is selected, also select the Last Date of Attendance.
Step 7: Select OK
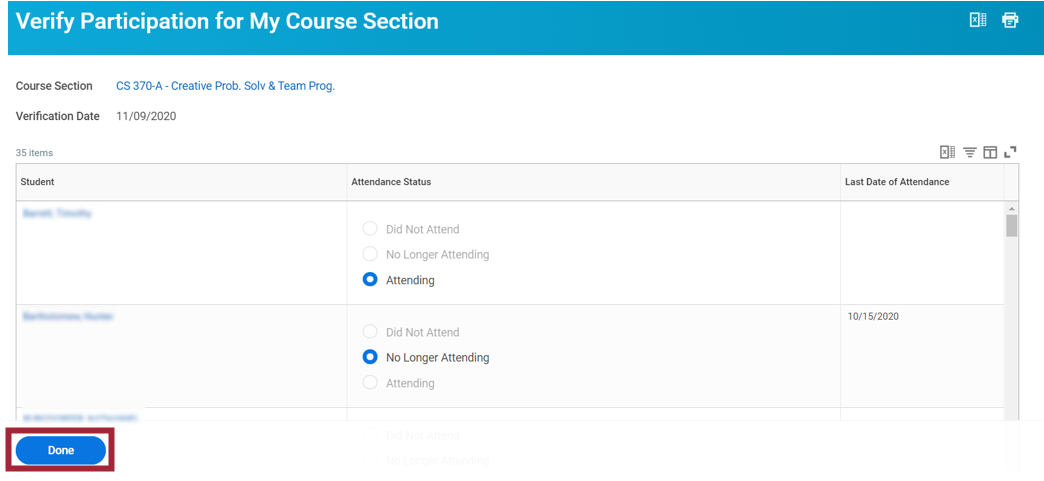
Step 8: Select Done
Experiencing an issue or need additional support? Contact our OneIT Team by