Global Protect Client on Mac OS X
Step-by-step instructions to connect to the Global Protect client from Palo Alto, a state-of-the-art VPN client for secure access to Stevens network resources, on Mac OS X computers.
Before you start
- For best connectivity, we recommend that you install the latest version of your OS X Operating System.
- Please note that as you use this client, the default settings will route all internet traffic through Stevens.
- Please note that the Global Protect VPN will require multi-factor authentication using Okta.
- FACULTY & STAFF - VPN access has been provided to All Faculty and Staff. There is no need to submit a support ticket requesting access.
-
STUDENTS - If you are working for a faculty member and need VPN to access on-campus resources, you must first submit a support ticket requesting access and your faculty member must update the support ticket approving your request before access can be granted.
Connection Instructions
Step 1: Download the file for the Mac Global Protect client onto your computer from this article and save to your computer.
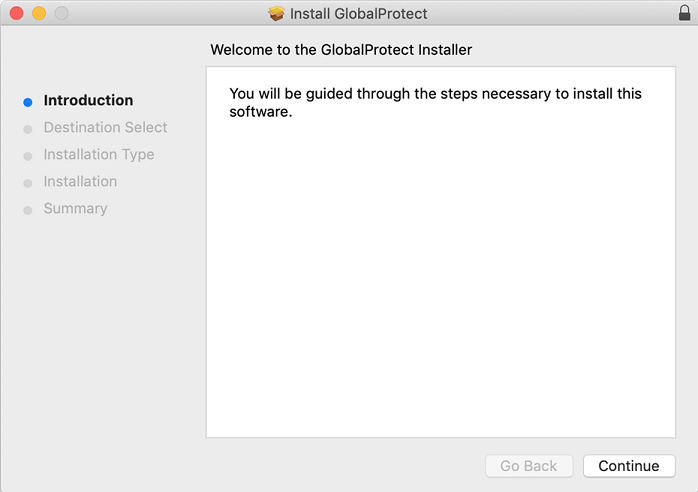
Step 2: Click on the file and a wizard will open. Click Continue.
Step 3: Check the box for GlobalProtect and then click Continue.

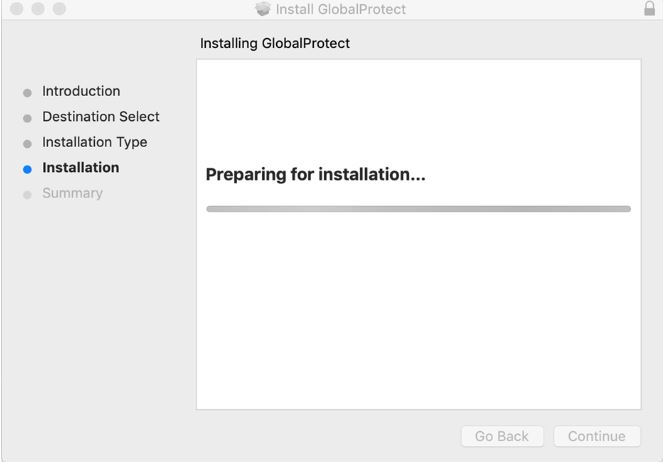
Step 4: Now click Install.
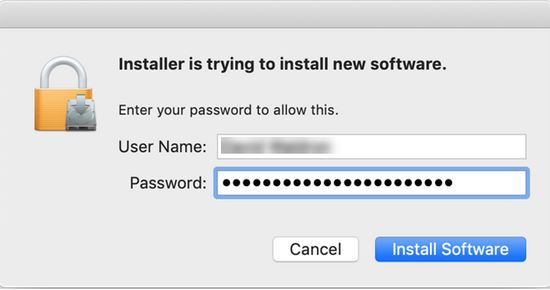
Step 5: You may be prompted for your Mac administrator username and password.
Step 6: If prompted, open Security Preferences and allow the application. Note: Look for the system popup below to access the required settings.


Step 7: The installation is now complete. Click Close.

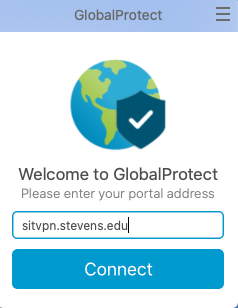
Step 8: In the Portal Address field, enter sitvpn.stevens.edu and click Connect.
Step 9: Enter your Stevens username and password.

Step 10: Select your preferred option for OKTA - either enter 1 to send an Okta push to your smartphone, or open the Okta app on your smartphone for the passcode to be entered. Click Sign In.

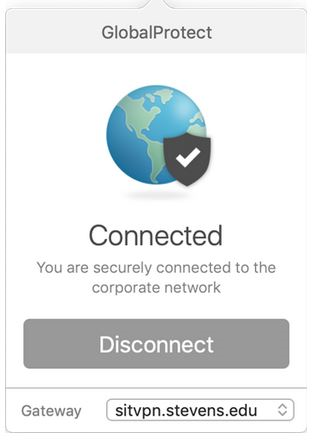
Step 11: You are now connected to the Stevens VPN.
Experiencing an issue or need additional support? Contact our OneIT Team by