Zoom Immersive View
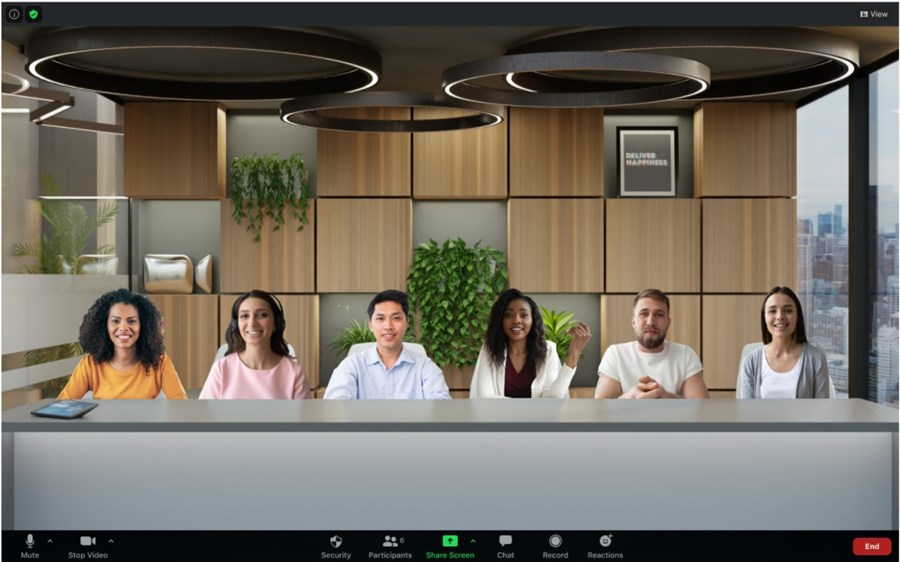
With Immersive View, you can make your virtual workspace seem like an in-person class with up to 25 participants. Each participant with their video on is added as an avatar to one virtual background meant to simulate a classroom feel.
Before you start
Enabling Immersive View
Step 1: Log into my.stevens.edu and select Zoom
Step 2: In the navigation panel, click Settings.
Step 3: In the Meeting tab under the In Meeting (Advanced) section, find the Immersive View option and verify that the setting is enabled.

Starting Immersive View
Step 1: Start a meeting or webinar as the host.
Step 2: In the top-right corner, click View.
Step 3: Click Immersive.

Step 4: Select one of the following options for placing participants into the scene:
-
Automatically: This will include as many participants as possible in the scene you select. Participants can be swapped out and arranged during the immersive scene.
-
Manually: You will add or remove participants as you wish. If more than are allowed for a particular scene are selected, extras will be removed.
Step 5: Select the scene you would like to use. Each scene designates the max number of predefined places for attendees.
Step 6: Select Start to begin the Immersive View.

Changing Immersive View
Step 1: In the top-right corner, click View.
Step 2: Click Change Immersive View.
Step 3: Select the new scene and check participant assignments.
Step 4: Select Start to launch the new scene.
Custom Immersive Views
Instead of picking from one of the preset Immersive displays, you can upload your own background image. Since there are no pre-made spots on custom backgrounds, you will have to manually assign the participants to locations.
Step 1: From the Change Immersive View window, click the plus sign to add a custom background.

Step 2: In the file selection dialog, find and select the image you want to use.
Step 3: Click Open.
Step 4: Click Start to launch the new scene.
Step 5: Click and drag participant videos down onto the scene, adjusting their size as needed.
Moving and Adjusting Participants
When the immersive view begins, as many participants’ videos as that scene allows by default will be placed in the predefined locations.
When predefined locations are filled, not every participant is selected for the scene, or attendees arrive late, extra participants are placed above the immersive scene. The host can leave these videos above the scene, can click and drag the video down to an empty location, or click and drag the video to replace someone else. Videos dropped near a predefined location will snap to that location and that scene’s size for each video.
To adjust a video:
Step 1: Click on the participant's video and a thin blue box will appear around it.
Step 2: Use the corner squares of the blue box to resize the video panel or click and drag the center of the box to move the panel.
Ending Immersive View
Step 1: In the top-right corner, click View.
Step 2: Click another available video layout, such as Speaker or Gallery.
Step 3: Click Stop to confirm ending Immersive View.
Experiencing an issue or need additional support? Contact our OneIT Team by