Installing Cisco Jabber (VoIP) Software
Learn how to install the Jabber client from the self-service portal or manually on your Windows, Mac, Android, and iOS devices.
Self-Service Portal (Faculty/Staff Only)
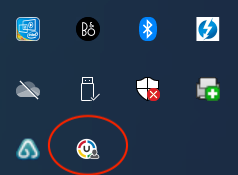
Step 1: At the bottom right hand corner, right click on the icon for Desktop Central as shown below and choose Self Service Portal.
Note: If you do not see the icon for Desktop Central as circled below on your computer, it may be that this needs to be installed on your computer as well. Please email support@stevens.edu for assistance.
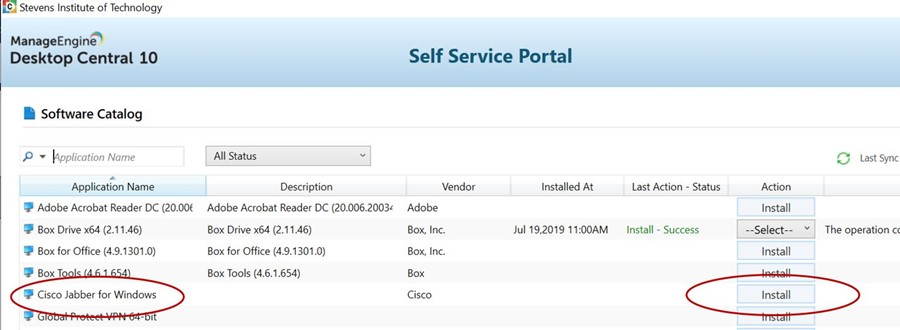
Step 2: Scroll down the list of software to Cisco Jabber for Windows or Cisco Jabber for Mac depending on your device and select Install.
Step 3: The software is now installed; you can proceed with connecting to the Global Protect VPN and authenticating with OKTA to sign in to Jabber.
Manual Downloads
Learn how to download Jabber on your Windows, Mac, Android, and iOS devices.
Windows
Step 1: Visit http://stevens.edu/jabberclient to download the Cisco Jabber file.
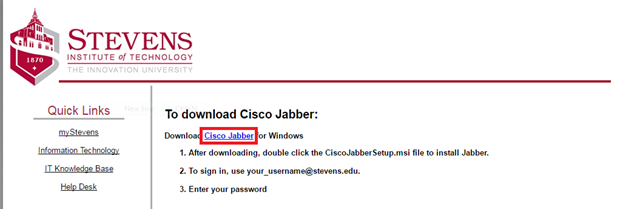
Step 2: Once downloaded, double-click CiscoJabberSetup.msi to begin installation.

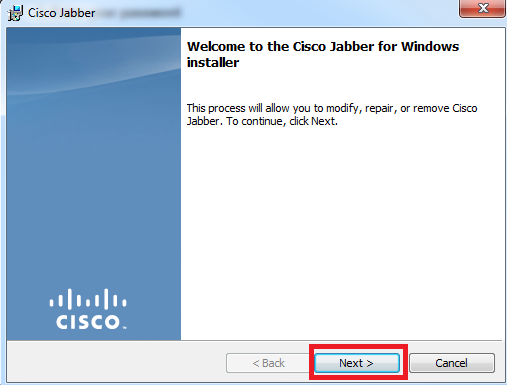
Step 3: Click Next to continue the installation.
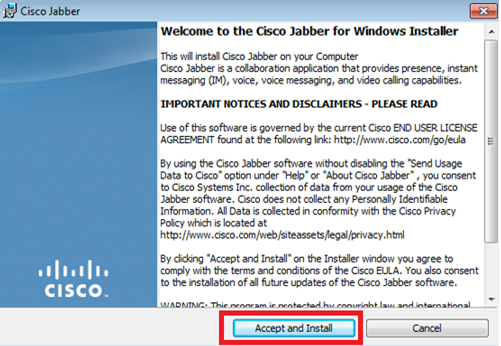
Step 4: Read the Notices and Disclaimers and then click Accept and Install.
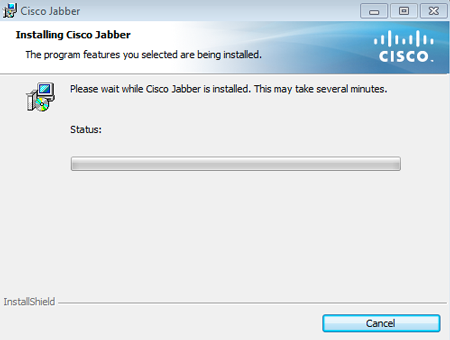
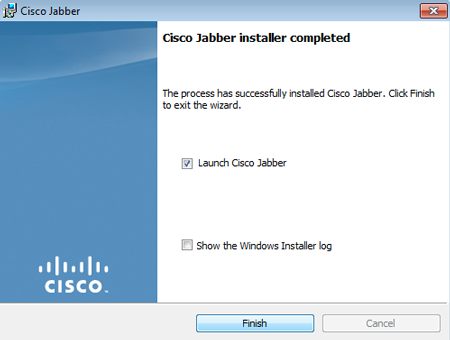
Step 5: Click Finish.
Mac OS
Step 1: Visit http://stevens.edu/jabberclient to download the Cisco Jabber file.
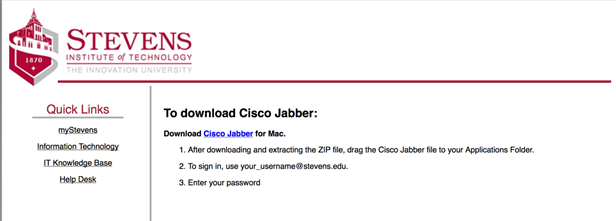
Step 2: Once downloaded, double-click CiscoJabberMac-11.6.0.235520.zip to extract Cisco Jabber Application.


Step 3: Once expanded, move the extracted Cisco jabber Client to the Application folder.
Android
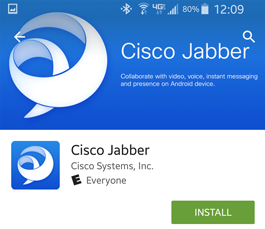
Step 1: On your Android, find Google Play Store and search for Cisco Jabber.
Step 2: Click Install.
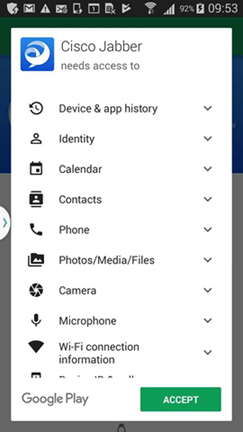
Step 3: Tap Accept to allow Jabber to access the features listed.
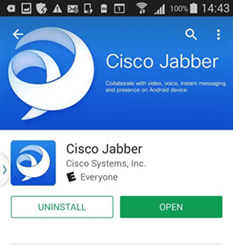
Step 4: Cisco Jabber is now installed. Tap Open to sign in to the application.
iOS
Step 1: On your iOS device, find the App Store on your device and search for Cisco Jabber.
Step 2: Tap Get.
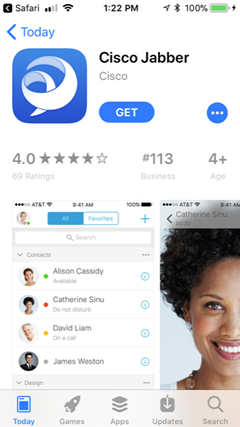
Step 3: Cisco Jabber is now installed. Tap Open to sign in to the application.
Experiencing an issue or need additional support? contact our OneIT Team by